Creating a home podcast space with acoustic foam can significantly improve the sound quality of your recordings by minimising echoes and background noise.
Here's a step-by-step guide on how to set up a podcast space using acoustic foam from Clark Rubber.
Materials:
1. Acoustic Foam Panels:
Purchase acoustic foam panels from Clark Rubber. Choose panels with a thickness of at least 2 inches for effective sound absorption.
2. Adhesive:
Use adhesive spray or double-sided tape to attach the foam panels to the walls.
3. Measuring Tools:
Measure the dimensions of your podcasting space to determine the quantity of foam panels required.
4. Stanley Knife or Scissors:
Use a Stanley knife or scissors to cut the foam panels to fit the specific dimensions of your space.
5. Tape Measure:
Use a tape measure to ensure that the panels are evenly spaced and aligned on the walls.
6. Level:
Ensure that the panels are hung straight and level by using a bubble level.
7. Microphone and Boom Arm:
Invest in a quality podcasting microphone and a boom arm to position the microphone at the optimal distance and angle.
8. Pop filter:
Invest in a quality podcasting microphone and a boom arm to position the microphone at the optimal distance and angle.
9. Headphones:
Use closed-back headphones to prevent audio leakage and improve the overall recording quality.
Steps:
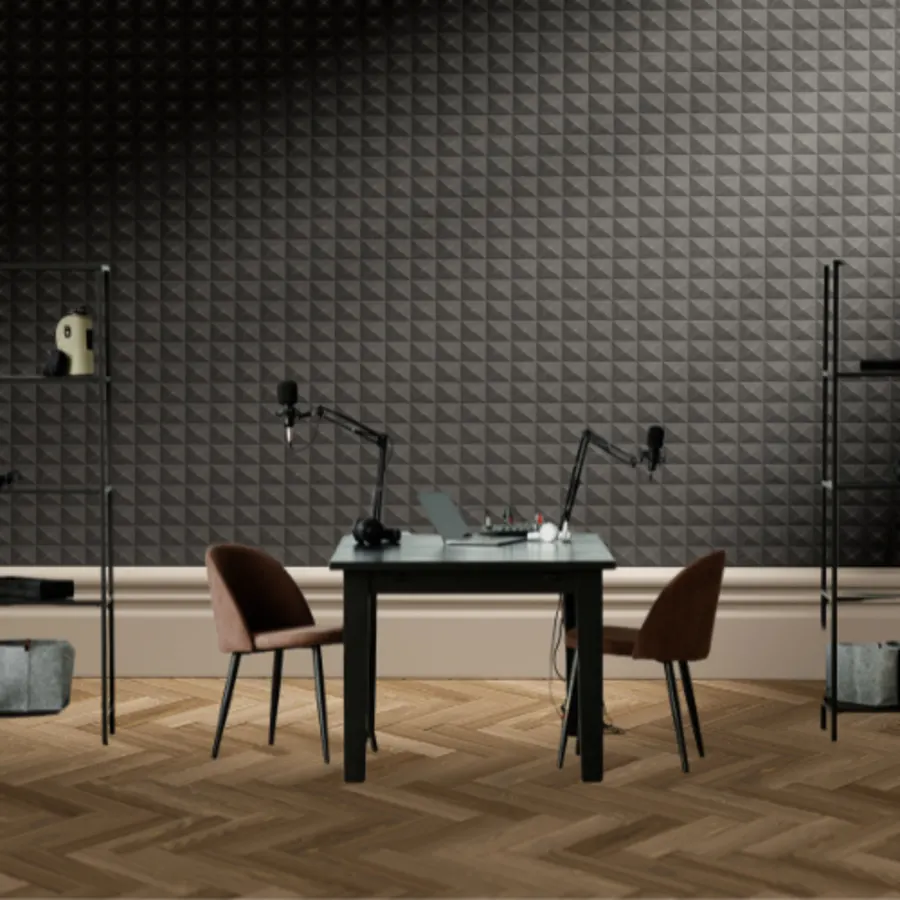
4. Place Acoustic Panels Strategically: Focus on the areas where sound reflections are likely to occur, such as behind the microphone and on the walls facing it. Corners are also important locations for sound absorption.
5. Setup Recording Equipment: Position your microphone on a boom arm at the appropriate height and angle. Attach a pop filter to reduce plosive sounds.
6. Arrange Furniture: Arrange furniture strategically to help absorb sound and reduce echoes. Consider adding a rug and curtains if they are not already present.
7. Test and Adjust: Record a test podcast episode and listen for any remaining echoes or unwanted background noise. Adjust as needed, such as adding additional foam panels or repositioning existing ones.
8. Monitor with Headphones: Use closed-back headphones while recording to minimise audio bleed into the microphone.
9. Personalise and Decorate: If desired, use additional acoustic foam panels or decor elements to personalise the space while maintaining effective sound treatment.
By following these steps, you can create a professional-grade podcasting space right in your home. With the right materials and strategic setup, you'll enjoy improved acoustics, ensuring high-quality recordings for your podcast. Acoustic foam panels, combined with thoughtful room arrangement and quality recording equipment, will help you achieve a controlled, sound-treated environment. Enhance your podcasting experience and captivate your audience with superior sound quality. For the best results, make sure to check out our Acoustic Foam Panels and contact your local Clark Rubber store for more information and expert advice on optimising your podcast space today!